Now you have put most of the tea light together. The hard part is done. You could *almost* use it as is, but let's finish it so it looks really great!
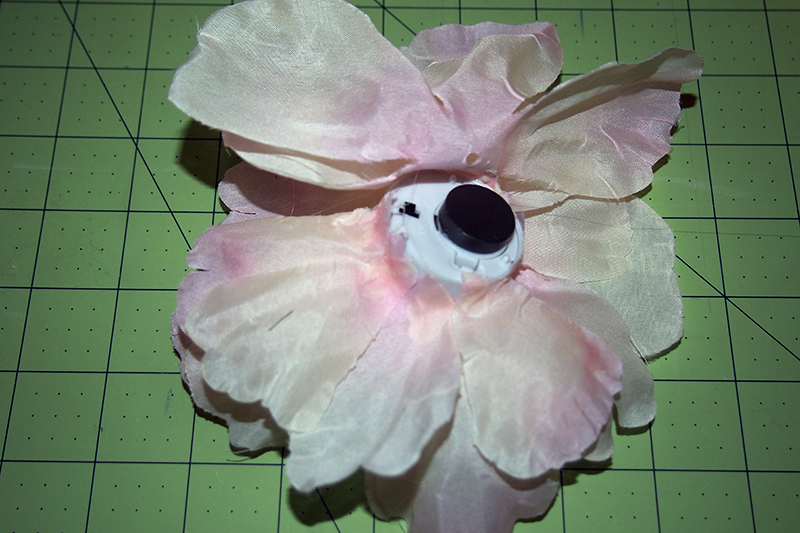
14. Turn the flower over, and with the battery cover in place, center the bottom layer of petals face down over the base of the tea light.

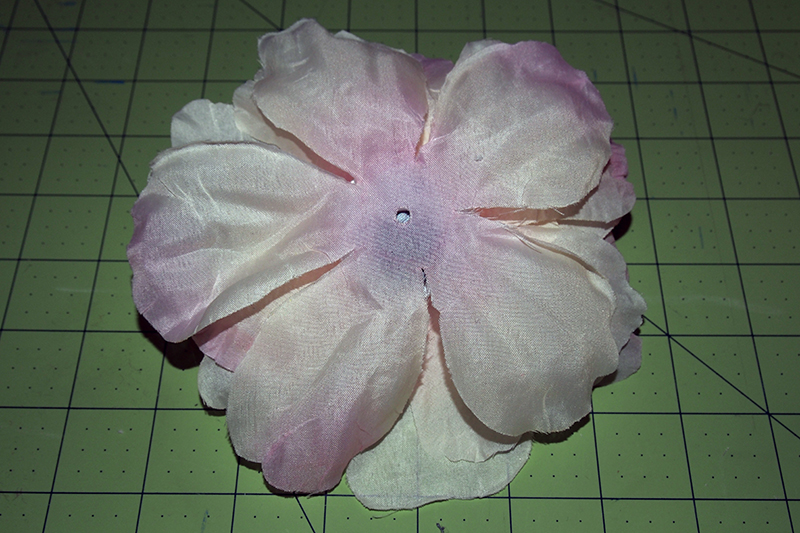
15. Glue down about 1/3 of the flower to the edge of the base, leaving enough room to get to the switch and battery cover. (The battery will last a long time, but you do want to be able to easily replace it.) The rest of the petal layer will flop around a bit. Don't worry about it now.
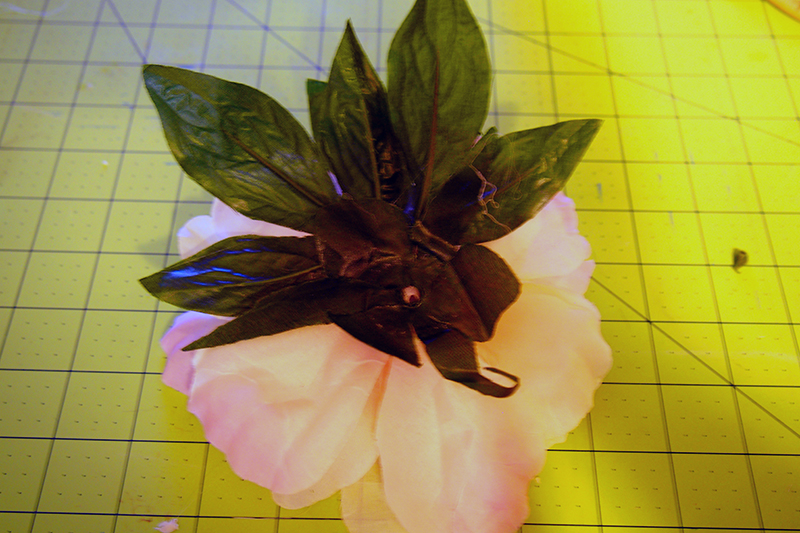
16. This step is optional, but it will help the appearance of the flower. I glued the leaves that were originally at the base of the flower back into place over the bottom of the petal layer, then glued a couple of leaves from the stem in place. Place the latter leaves over the bottom part of the petal (the floppy bit) that you've glued to the base of the tea lamp. You may want to play around with leaf placement after you've tried the flower out on a garment, though.
17. Turn on the tea light. Test, test, test!
18. Place your second magnet inside your hat or garment on the spot where you want to place the flower.
19. Place the flower on the garment with the part of the back that isn't glued facing downward. Gravity and magnets should keep everything in place. Science!
20. Depending on your garment, you may want to place a second magnet on the outside of the petal and leaf assembly at the bottom of the tea light.
If I've done my math right, one of those tea lights will run up to five days continuously on a single battery. That's more than enough for a typical party. (If you can party for more than five days straight, you have my admiration.) Replacing the batteries should be a snap, just as long as you left enough space to take the battery cover off.
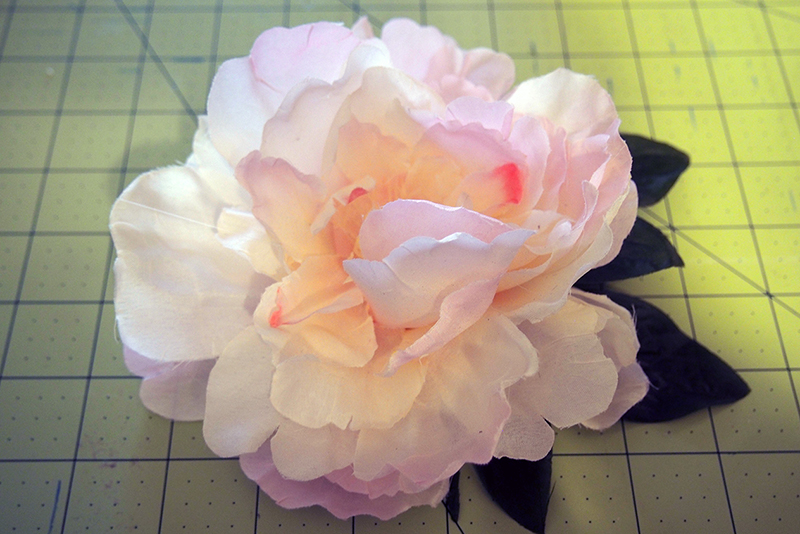
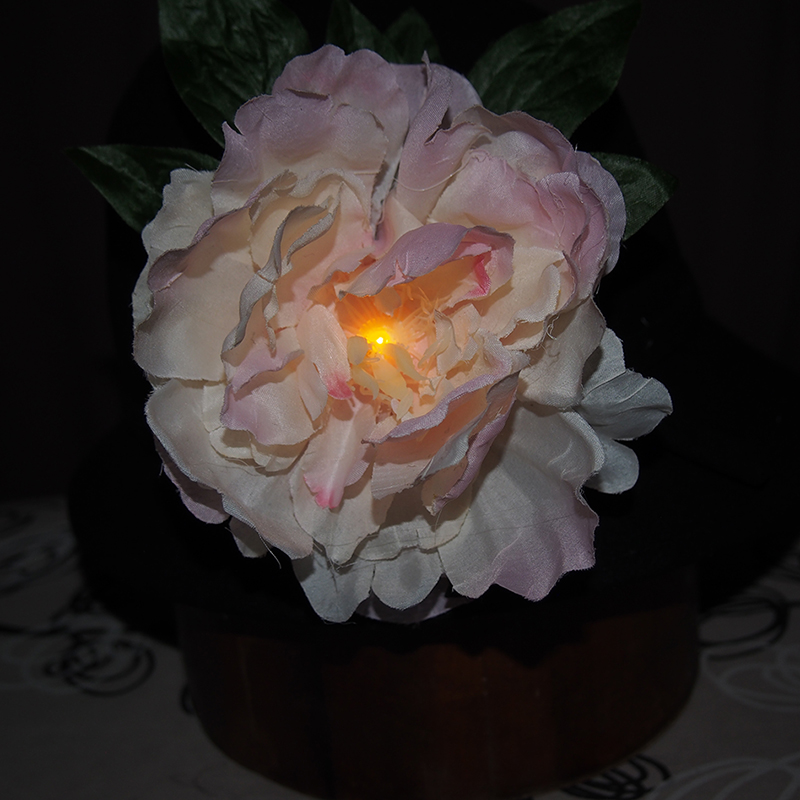
Let's look at this again. I have it mounted on a black felt cloche.
You should be able to do this project in under an hour, particularly if you decide to make several. Once you've figured out how to do one, others will go together fairly quickly.
Have fun!